
The 2000 Jeep XJ project began as a low-cost build meant to refresh an older vehicle and give it a clean, functional look. The team focused on keeping expenses down while improving the Jeep’s appearance and performance. Every step, from removing parts to preparing surfaces, aimed to make the process efficient and achievable for anyone working with a limited budget.
Once the disassembly was complete, careful cleaning and surface preparation set the stage for painting. The team applied even coats and checked the finish closely to ensure a smooth result. After reassembly, the new wheels fit perfectly, giving the Jeep a balanced and finished look that reflected the effort and attention to detail throughout the build.
Key Takeaways
- The project focused on upgrading a 2000 Jeep XJ on a small budget.
- Careful preparation and painting produced a clean, even finish.
- The final setup achieved strong visual balance with well-fitted wheels.
Overview of the 2000 Jeep XJ Budget Build
Project Objectives
The team set out to transform a 2000 Jeep XJ into a clean, functional build without spending much. They focused on restoring its appearance and performance while keeping costs low.
Key goals included:
- Refreshing the suspension and springs
- Cleaning and repainting the exterior parts
- Improving wheel fitment and stance
They aimed to make the Jeep look and feel like a well-cared-for XJ using simple tools and affordable materials.
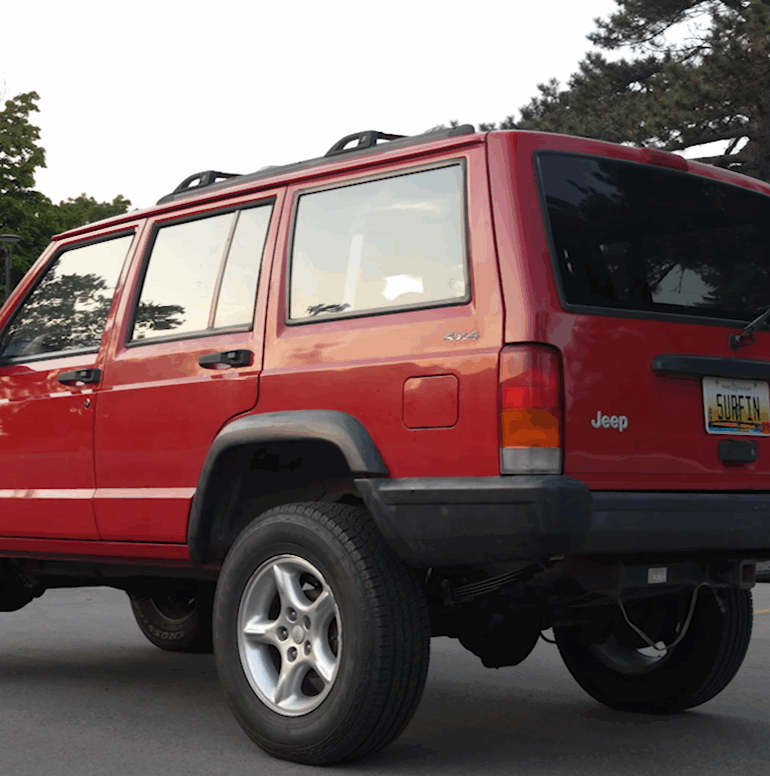
Starting Condition Review
The Jeep arrived in rough shape but had strong potential. The team removed the old springs and prepped the body for paint.
They waxed and degreased the fenders before applying several light coats of paint for a smooth finish. After the final coat, the fitment of the wheels looked precise, giving the vehicle a balanced and finished look.
| Step | Task | Result |
|---|---|---|
| 1 | Remove springs | Easier access for painting |
| 2 | Clean and degrease fenders | Better paint adhesion |
| 3 | Apply light coats of paint | Even color and clean finish |
| 4 | Check wheel fitment | Proper alignment and improved look |
Disassembly Process
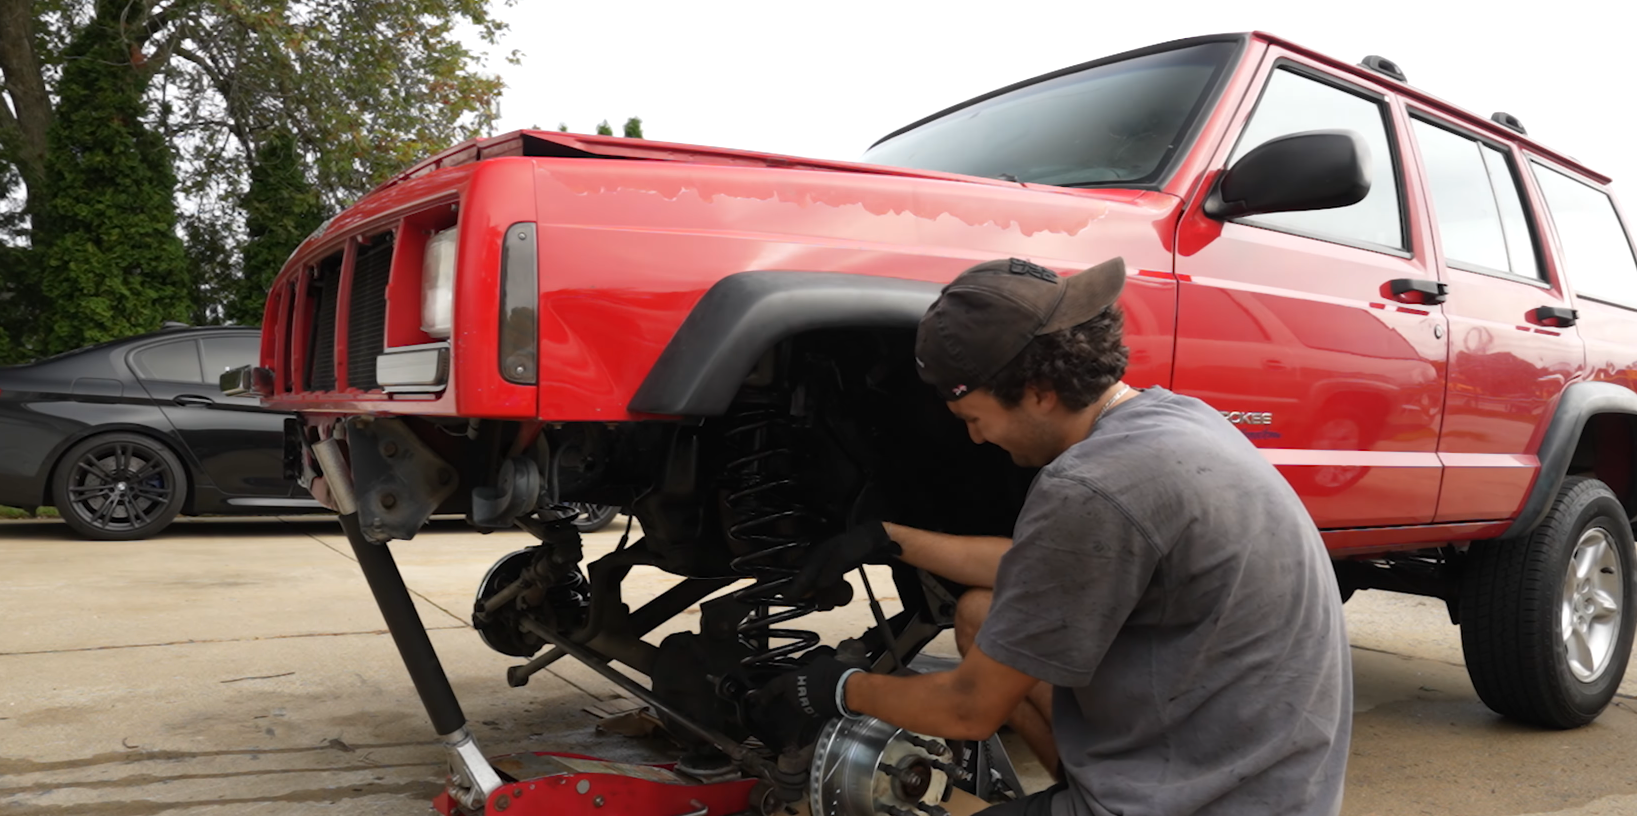
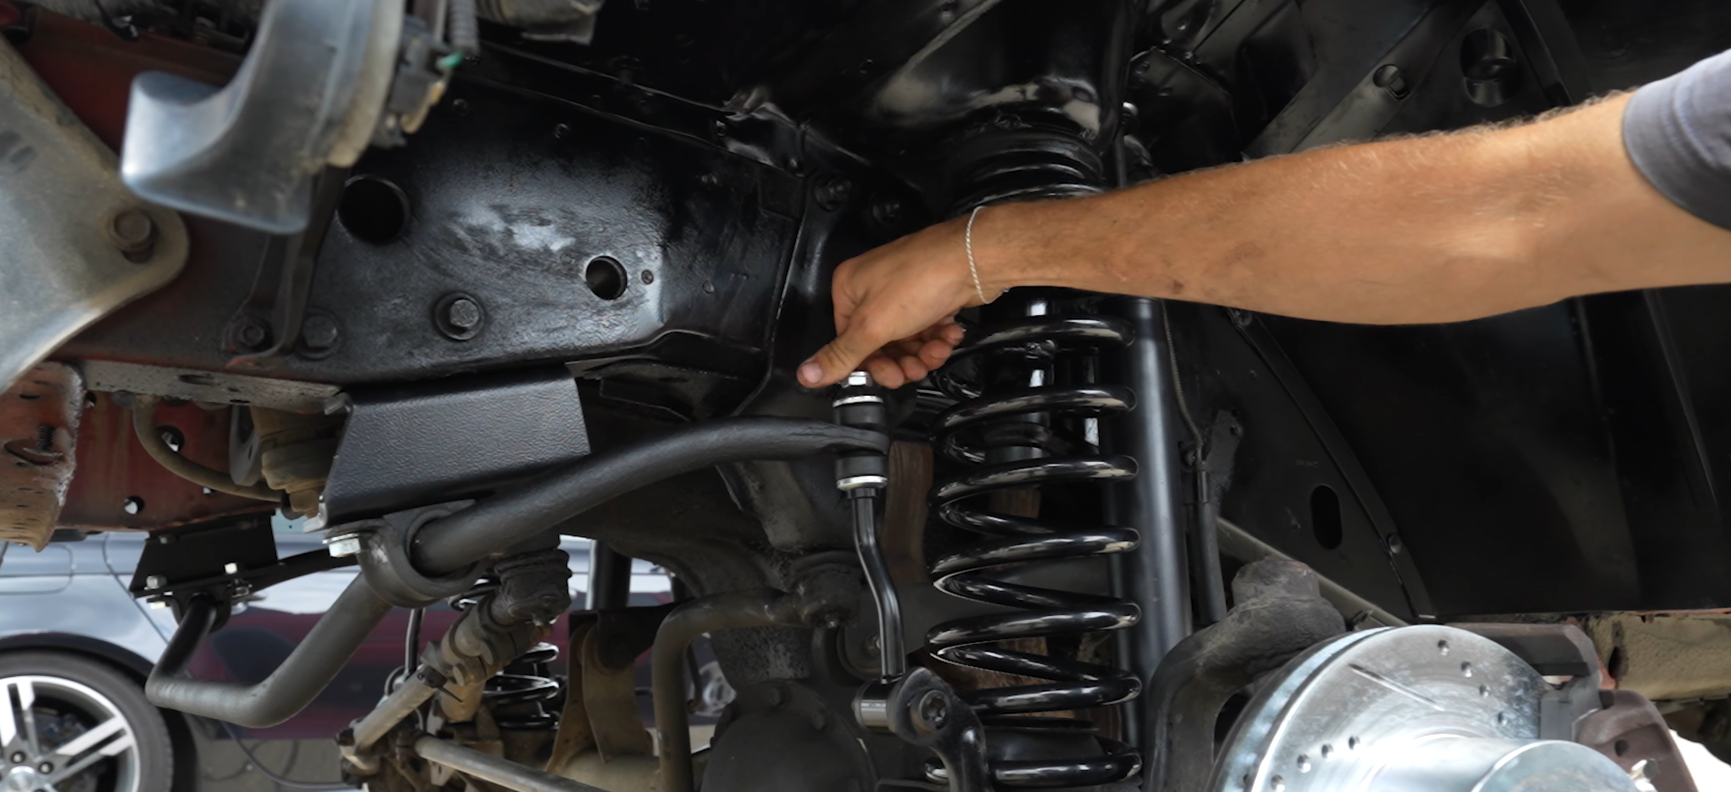
Taking Out the Springs
They removed the springs from the 2000 Jeep XJ to prepare for the next steps of the build. Using steady heat helped loosen the parts and made it easier to take everything apart. After several rounds of heating and adjusting, the springs came free.
Tools Used:
- Heat source
- Basic hand tools
Steps:
- Apply heat evenly around the spring area.
- Loosen the bolts once the metal expands slightly.
- Remove the springs carefully to avoid damage.
Getting Ready for Paint
After the springs came out, they cleaned each fender to ensure a smooth paint surface. Wax and degreaser removed dirt, oil, and old residue. Once the surface was clean and dry, they sprayed a light final coat for an even finish.
| Step | Task | Purpose |
|---|---|---|
| 1 | Wax and degrease surfaces | Remove buildup |
| 2 | Dry completely | Prevent paint defects |
| 3 | Apply light coat | Create smooth finish |
Surface Preparation
Cleaning and Degreasing the Fenders
They began by removing all dirt, wax, and grease from the fenders to ensure the paint would stick evenly. A clean surface helped avoid flaws and gave the finish a smooth look.
Steps followed:
- Wipe each fender with a degreasing solution.
- Rinse thoroughly and dry with a lint-free cloth.
- Inspect for any leftover residue before moving to paint.
This process created a clean base for the next stage of painting.
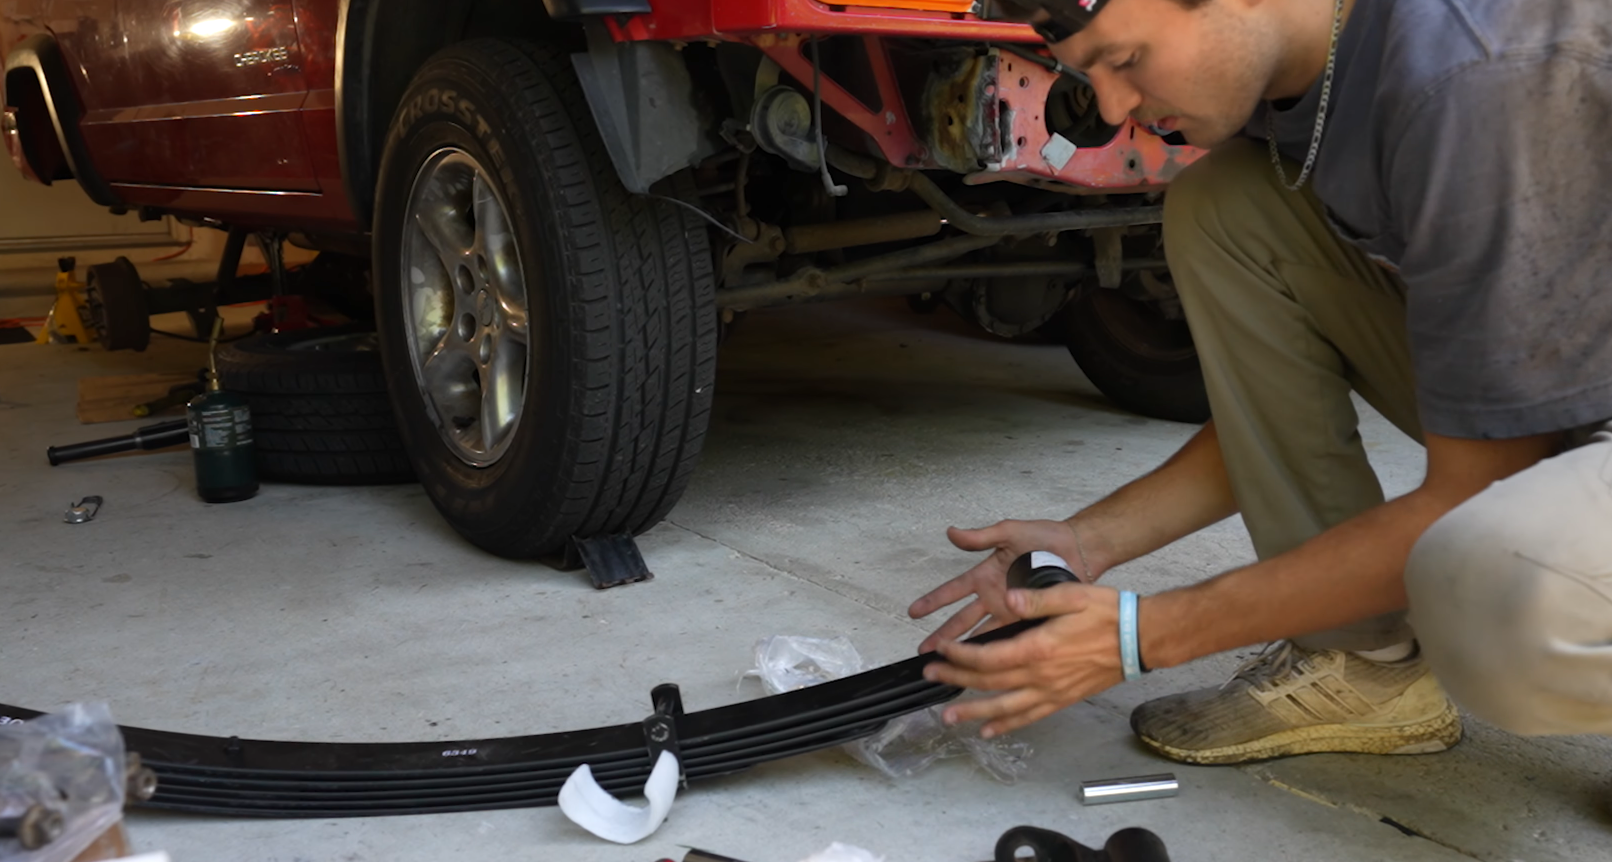
Getting Other Parts Ready
They also prepared the remaining body components before painting. Springs and other attached parts were taken off to allow full paint coverage.
Checklist for preparation:
| Task | Purpose |
|---|---|
| Remove springs | Access hidden areas |
| Clean surfaces | Prevent paint defects |
| Apply light final coat | Ensure even finish |
After these steps, every part was ready for paint, giving the Jeep a consistent and well-prepped surface.
Painting Techniques
Using Thin Layers
They applied the paint in several light layers instead of one thick coat. This method helped the surface dry faster and reduced the chance of drips. Each layer built up smooth color and kept the finish even.
Steps followed:
- Cleaned and degreased the fenders.
- Let each coat dry before adding the next.
- Checked the surface for any uneven spots before continuing.
Achieving Uniform Finish
They made sure the paint covered every section evenly. Holding the spray at a steady distance kept the color consistent.
| Tip | Purpose |
|---|---|
| Keep the sprayer moving | Prevents heavy spots |
| Overlap strokes slightly | Ensures full coverage |
| Apply final light coat | Smooths out small flaws |
The result looked balanced, with no visible streaks or patchy areas.
Wheel and Fitment Results
Displaying Wheel Alignment
After installing the new wheels, the alignment sat clean and even on all sides. The spacing between the tires and fenders showed tight, balanced clearance. Each wheel fit flush with the body, giving the Jeep a solid stance.
| Detail | Observation |
|---|---|
| Wheel Size | Matched evenly across all corners |
| Fender Gap | Consistent and minimal |
| Alignment | Straight and centered |
The setup created a proper fit without rubbing or uneven spacing.
Visual Enhancements
Fresh paint and cleaned fenders improved the Jeep’s look. A light final coat evened out the finish and made the new wheels stand out. The combination of clean surfaces and balanced fitment gave the vehicle a sharp, finished appearance.
- Paint Finish: Smooth and uniform
- Fender Prep: Waxed and degreased before coating
- Overall Look: Neat, balanced, and ready for use
Final Reveal
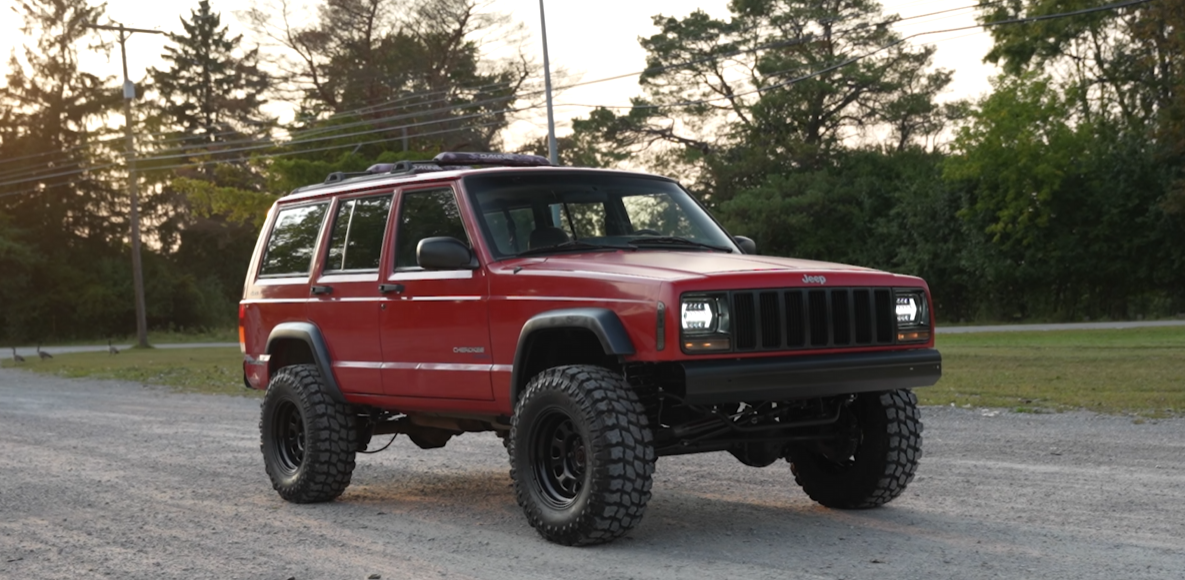
Finished Appearance
After removing the springs, the team cleaned, waxed, and degreased the fenders to prepare for paint. They applied a light final coat, giving the surface a smooth and even finish. The fitment of the parts lined up precisely, and the new wheels matched the build perfectly.
Details of the completed setup:
| Component | Update | Result |
|---|---|---|
| Fenders | Cleaned, waxed, painted | Smooth finish |
| Wheels | Installed | Tight, clean fit |
| Suspension | Springs removed and reinstalled | Proper alignment |
The Jeep now looks like a solid, well-balanced build that meets the team’s goal of creating a strong and simple upgrade on a budget.
Build Takeaways
They felt proud of the outcome after the final touches. The attention to detail during prep and painting made a clear difference. The process showed how patience, heat control, and steady work can turn a basic Jeep XJ into a clean, well-finished project.