

If you’ve had your Jeep long enough to change the wheels and tires (usually one of the first mods new owners will do), you also know that your speedometer will not be indicating the correct speed after your new tires are under your ride. As the TJ model grows older and older, finding the correct gear to calibrate your speedometer becomes more difficult. Add to that the plethora of axle gear ratios and tire sizes (not all tires sizes measure the same from brand to brand)…..and you can end up with a combination that is darn hard to work with.
So…..why not just do it the easy way? Leave the speedometer gear right where it is in the transfer case and install the SpeedoHealer speedo calibrator by HealTech Electronics. You can get one from Blue Monkey Motorsports. They have configurations to fit a variety of Jeeps including your TJ. Let’s take a look at the what it takes to get the TJ converted over to an electronic speedometer calibration module.
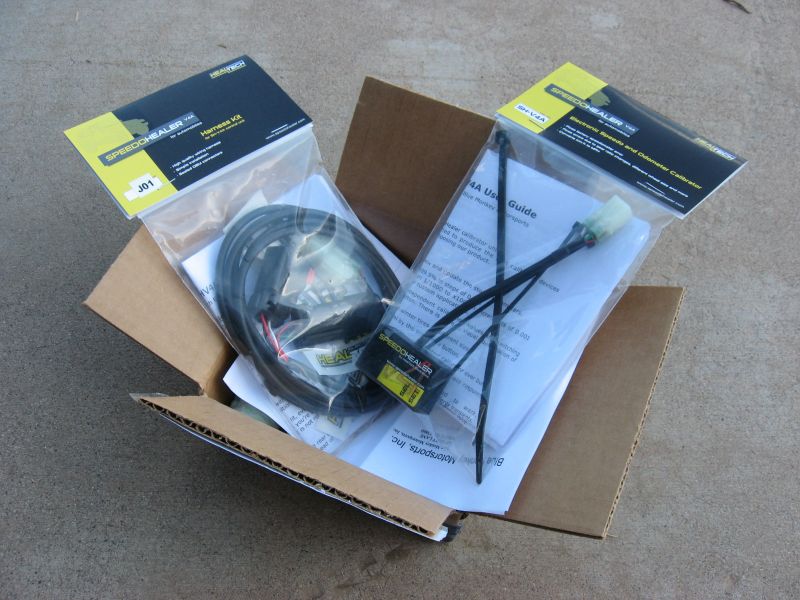
The SpeedoHealer comes as a two part kit. Everything you need….everything….is included in the package. The TJ package includes the SpeedoHealer itself and an install harness that provides the necessary connectors to integrate the tiny computer into your TJ’s wiring harness.
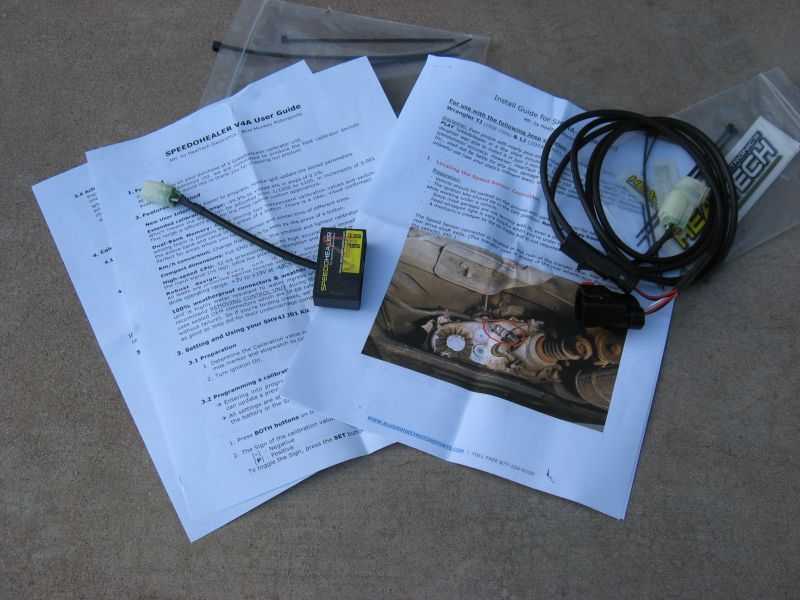
The SpeedoHealer’s install harness comes with zip ties and instructions to guide you, step by step, through the very simple installation process…..and it is indeed very simple. If you think you are one of those folks that are all thumbs when it comes to such things, relax…..you will do fine. According to a comment in Blue Monkey’s install docs, one of the staff’s 15 yr old daughter completed the install in just 5 minutes. So, let’s take a look at what is involved with getting the SpeedoHealer installed in your TJ.
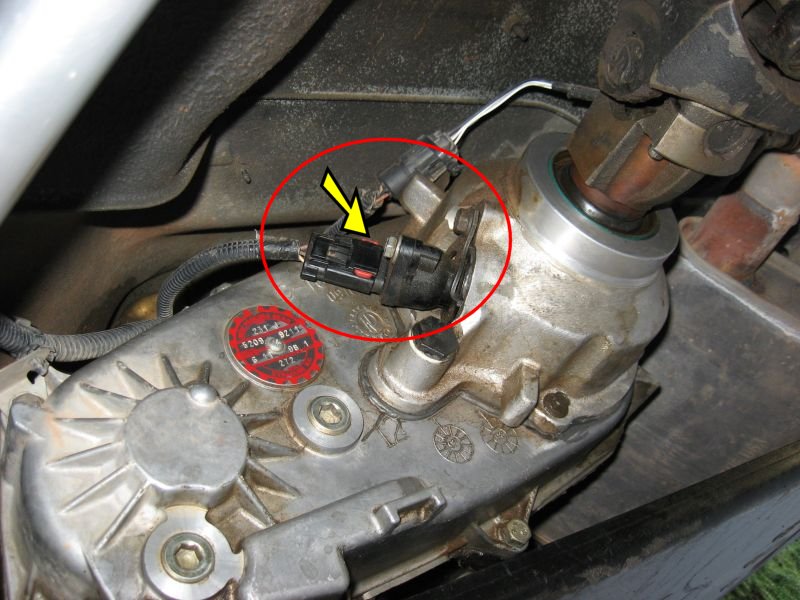
Here is a pic of my NP231 transfer case. The speedometer sensor sports a red circle in the above photo. The speedo sensor is a gear driven device that converts mechanical rotation into electronic pulses. These pulses are routed to the engine computer where it counts them and then sends a speedometer signal to the instrument cluster to indicate how fast you are going. You can see why changing the axle’s gear ratio and/or the tire size will change the vehicle’s true speed while the speedo sensor generate the same electronic pulses.
So…..this is where the SpeedoHealer takes over and corrects those signal pulses going to the engine computer. In doing so, the TJ’s actual speed and the electronic speedo pulses are once again in sync and your speedometer will be indicating the correct speed.
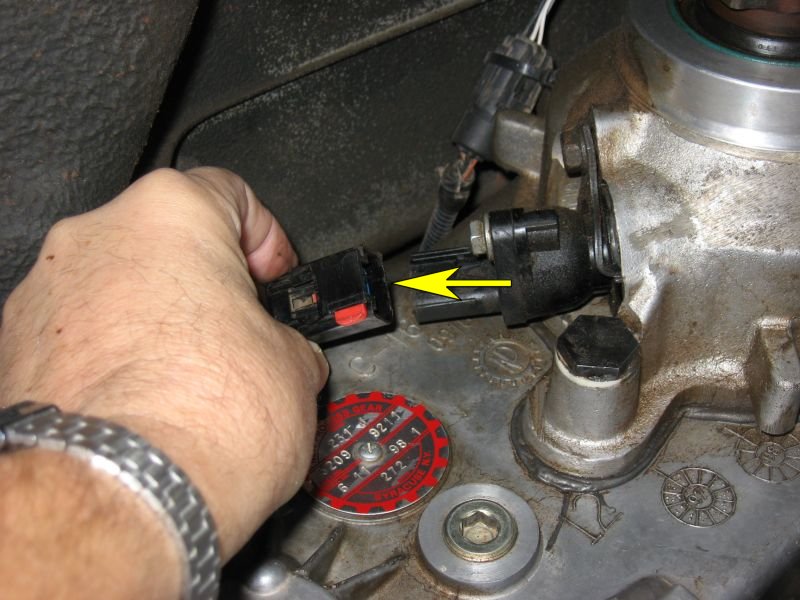
The first step, once you have the parking brake set and/or a wheel chocked in place, is to unplug the factory connector from the speedo sensor. There is a red locking tab on the connector that must be pushed to unlock the connector so it can be removed from the sensor housing. The yellow arrow is pointing at the locking tab (red piece of plastic).
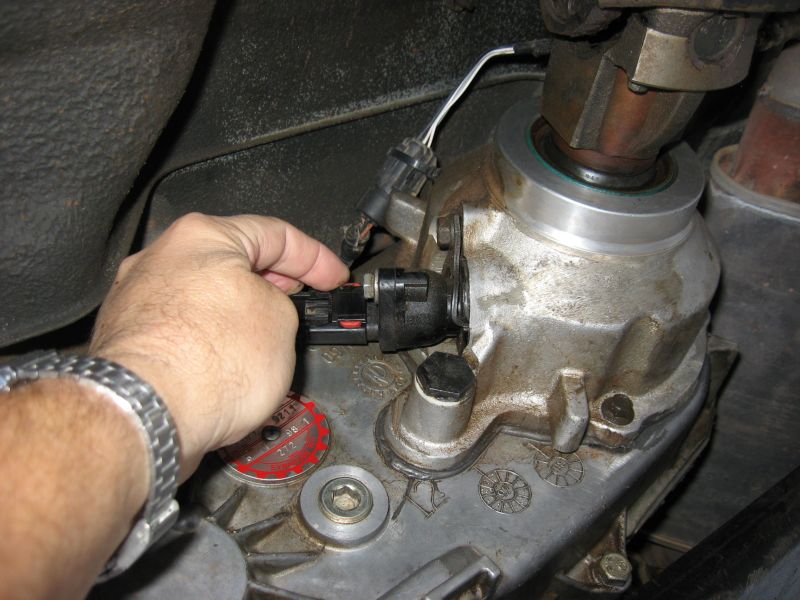
Push the red tab in a downward direction, from the top. It may be a little stubborn but it will move into the unlocked position with some good finger pressure.
HealTech Electronics SpeedoHealer
With the red locking tab pushed into the unlocked position, pull the factory connector straight off of the speedo sensor housing (in the direction of the yellow arrow). Congrats, you are almost half way finished with the harness installation!
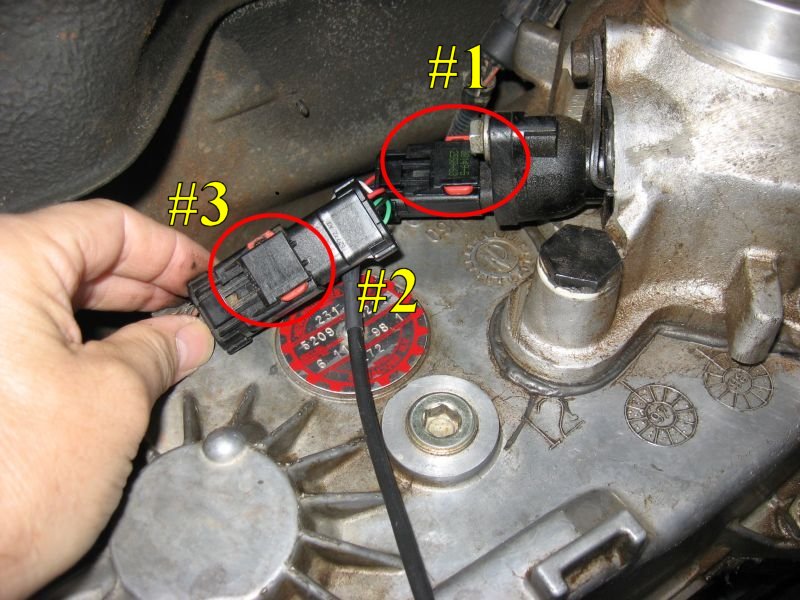
With the factory connector unplugged from the speedo sensor, it is as easy as 1, 2, 3 to plug in the SpeedoHealer harness. First, plug the SpeedoHealer connector (I’ve labeled it #1) to the speedo sensor. After you do, be sure to push the red locking tab up into the locked position, as shown in the above photo.
Next, take the other SpeedoHealer connector (I’ve labeled it #2) and plug it into the factory connector (I’ve labeled it #3) that you previously removed from the speedo sensor. As before, be sure to push the red locking tab into the locked position, as shown in the above photo.
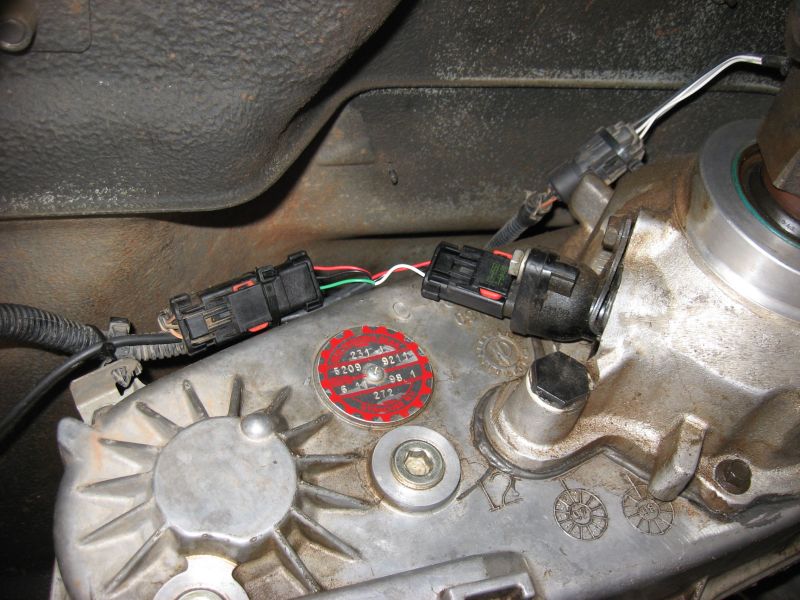
Nearly done with this end of the cable. After the two SpeedoHealer connectors were mated with the factory connectors, I started routing the cable forward to the engine compartment. Since I already had a cable/hose bundle running along the driver’s side frame rail (also where the brake hard line runs front to rear), I opted to run the SpeedoHealer cable along the same route.
As I sometimes have a tendency to do a bit of overkill, I grabbed a few more zip ties from the stash I keep in my electrical tool box and made sure the SpeedoHealer cable was totally secure along its path. I’ve never snagged an electrical wire, ARB air line, or radio cable out on the trail. As such, I installed this cable with the same attention to detail as I’ve done so many others.
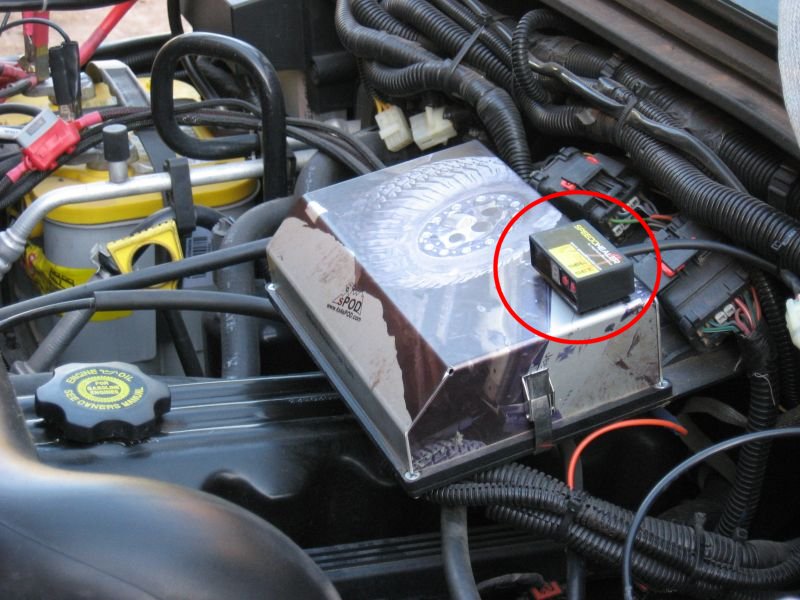
Once I got the SpeedoHealer cable all the way up into the engine compartment, I plugged the SpeedoHelaer’s pigtail into the cable and mounted it on top of my sPOD housing. The SpeedoHealer comes with the generous portion of Velcro attached to the bottom of the unit. I peeled off the backing, cleaned the spot on top of the sPOD with some alcohol and paper towel, and stuck security in place. With the supplied Velcro, I can temporarily remove it from the sPOD should the need arise and then attach it later.
So there you have it….the install is complete. It took me a lot longer to type this up than it actually took to complete the installation. Having now done it, I’ve no doubt that someone’s 15 year old daughter could do it in 5 minutes. (but I’ll bet my use of zip ties was better than hers! LOL!!!)
From here, it was time to switch over to the docs that came with the SpeedoHealer unit. These describe how to actually enter the calibration numbers so you can dial in the unit and get a dead on speedometer indication. While reading the docs, I noticed that I can enter two different calibration setups to accommodate two different tire sizes. Why? Some folks put different sized tires on during the winter months (snow tires) and so this allows them to program the SpeedoHealer one time and then switch back and forth between the two configurations. Nice touch for sure!
I’ve had a high quality Garmin GPS for years (actually, I’ve gone through 3 different Garmin GPS units over the past years). It was easy enough to slip my Garmin 60CS into the Ram mount and take the TJ for a spin.
I opted to use the formula in step 4.2 (page 3 of the docs) to calculate the calibration value I would need to plug into the SpeedoHealer. Per the docs, this is an alternate method to calculate the calibration value. This worked out well as I didn’t have time to run out to the freeway so I could cruise 60 MPH and determine the calibration value from the table on page 4. It worked well….as I ended up with a nicely calibrated unit using 30 MPH as my reference speed. After all was said and done, I checked it against what the chart would have provided me had I been doing 60 MPH (hard to do in the local neighborhood) and the calibration numbers (mine and from the chart) matched right up. Since I don’t use snow tires here for central Arizona driving (we don’t have snow), I didn’t pursue the option of mounting my snow tires and getting a calibration value for them.
That about wraps up this review of the SpeedoHealer from Blue Monkey Motorsport’s . If you find yourself in a situation where you are tired of your speedometer giving you an inaccurate speed, give the SpeedoHealer a try. It works, just as promised….and given the wide range of values you can enter, I doubt you can gear the TJ and find a set of tires for it that the SpeedoHealer won’t make right. Besides that, you won’t have to log onto the Jeep forum any more and tell folks….”I get 270 miles to a tank of gas.” With an accurate speedometer, you’ll actually be able to determine just how bad your TJ’s mileage actually is! <grin>