
If you live in an area where the summer sun drives the temperatures to 115° or higher, you will probably find that wheelin’ in these temps is enough to cook you in 20 minutes. Here in Arizona, many of us switch to nocturnal trail rides and take advantage of the lower temps that the desert offers its night riders.
A common and relatively inexpensive modification that these late night trail riders install are rock lights. There is nothing special about them. You can’ find “rock lights” sitting on the shelf at your local AutoZone. What you will find those is those sets of $20 driving lights that can be quickly transformed into rock lights. Why rock lights? Well, they are located so that you (and more importantly, your spotter) can easily see what is under your vehicle once the sun goes down. Driving towards your spotter with your Hellas on makes it very difficult for him/her to give you good direction. Rock lights solve the problem, are spotter friendly, and after all is said and done, look pretty cool when seen by the unknowing.
I recently installed a set after having spent most of the summer running trails without them (go figure!). I stopped at the local auto store and purchases a no name brand of 55 watt lights along with a 30 amp power relay for the grand total of $25. The lights came with a wiring harness but aside from the switch and inline fuse, it was basically useless. The wiring kit assumes you will be mounting the lights on your bumper, spaced a couple of feet apart. That is not where you mount your rock lights. I was able to salvage some of the wiring from the harness for this project and the rest of it went into the junk drawer for some future wiring needs. If the thought of doing electrical wiring on your Jeep is keeping you from doing this project, then check out the off-road lighting diagrams for some help in understanding basic wiring projects.
Mounting the lights out of harms way was the most difficult step for me. You need to keep them tuck up nice and tight with the body/chassis. Letting them hang a bit too low will certainly find you picking them up from the ground after you have scraped them clean on your first good obstacle. The size of the light directly governs where you can mount them. The bigger the light, the less options you have, so spend some time under your Jeep and get a good idea of just how much room you have. Those little round projector lights are certainly small enough, but I am not sure they would provide a well dispersed beam pattern at such close distances. They cost more than I wanted to spend in order to test my theory, so I opted for a rectangular shaped pair, about 5″ x 1.75″ x 2″ deep.
I decided to locate the lights on the bottom of the brackets that holds the starter battery (passenger side) and the ABS pump (driver side). The have a large hole in the bottom that is not very easy to access, but it can be done. My lights can be mounted with a single bolt through the center of the bracket, so I decided to make use of this. I put a 1/4″ both through the light mount and into the bracket on the Jeep. In order to get the fender washer, lock washer, and nut onto the bolt, I taped them together and slipped them into place. It was kind of a stand on your head, bite your tongue, and keep your fingers crossed kind of thing but I was able to get the bolt tightened down and the lights properly aimed.
The wiring for the lights is the same as for any other normal vehicle setup. Although the $20 set came with a switch by which to control the lights, I opted for a $4 relay to keep things better under control. Most of the cheap switches that come with these lighting kits don’t last long when subjected to high current loads. By using a power relay to handle the current for the lights, the switch need only handle the small current needed to energize the relay. This is typically less than 1 amp so the switch should perform well in this function.
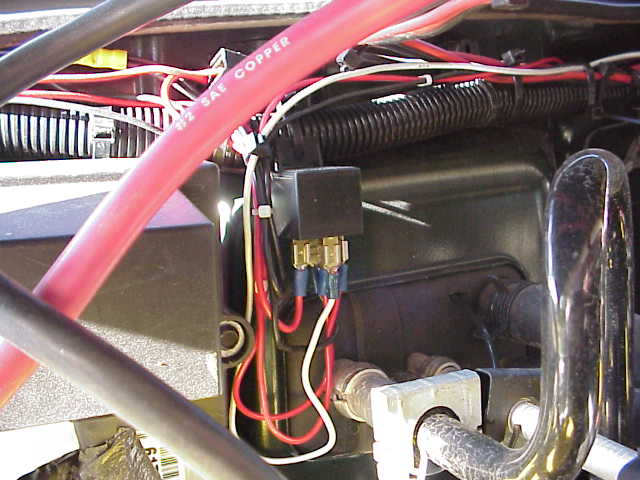
I mounted the power relay in the engine compartment, near the engine control module, since this puts it close to the battery and the necessary electrical power. I ran both wires from each light up to the relay and made a common ground connection for all three (relay and both lights). Wire ties hold the wires in place along the main harness that spans the top of the fire wall. Be careful when running the wires from the lights up into the engine compartment. Route the wires away from any moving parts and especially the exhaust manifold. Don’t forget to use the an inline fuse in the main +12V line where it connects to the battery. Electrical fires are NOT cool!
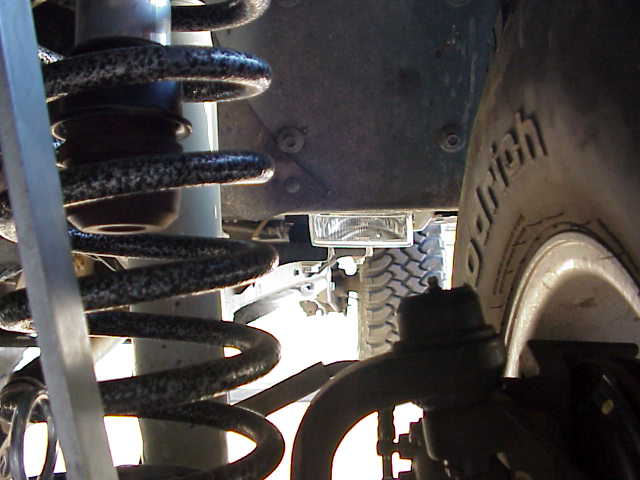
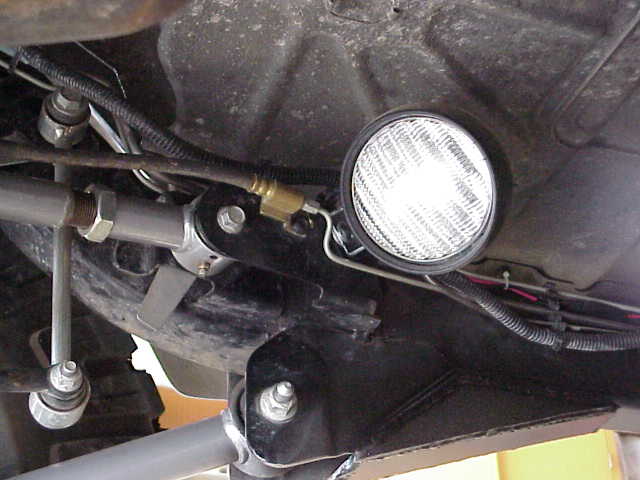
As you can see in this picture, the light is in a good spot to easily illuminate ground under the front axle and forward of the vehicle. This shot is looking down the driver side of the vehicle.
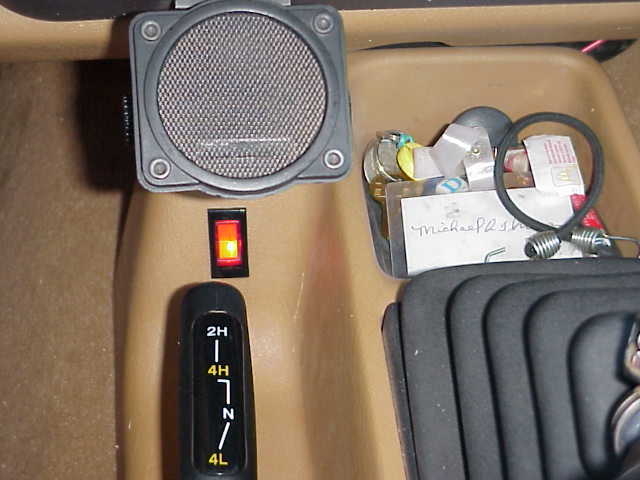
I mounted a red illuminated rocker switch on my center console, just forward of the t-case shifter. With a little help from my Dremel tool and a file, a nice hole was quickly rendered. The wires tuck in nicely form the back of the console where I also route most of the my radio wires as well. The speaker in the picture is for my Kenwood tri-band FM rig.
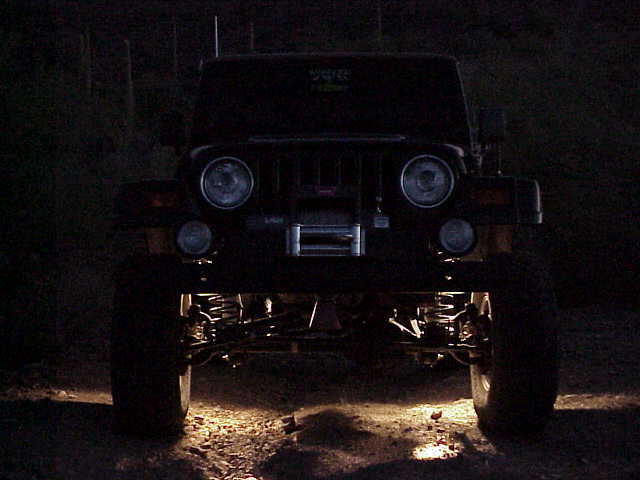
This pic came out a bit dark.. My digital does not do real good under extremely low light conditions. This was taken several hours after the lights were installed while making a night run through the desert.
I don’t make it a habit of rock crawling after dark. However, Murphy’s Law being what it is, someone in the group could easily suffer a breakdown and put your return trip way behind schedule, forcing you to drive through rocky sections of a trail. It is one mod that is inexpensive to do and makes you more trail ready.
Update – 6/24/2001
After having the lights on for nearly a year now, I finally got around to installing the rear light. I had wanted one of these since the initial install but wasn’t sure if I wanted one or a pair of lights. I was in the Checker Auto store picking up my new brake hoses and saw this $11 light and decided that would be perfect for the rear axle.
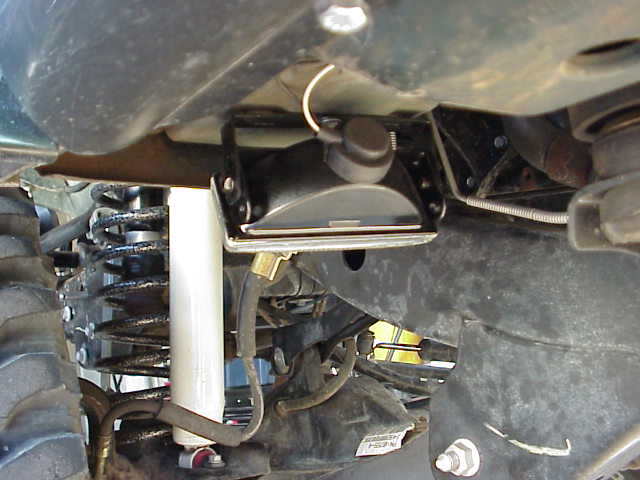
One of the things that had stopped me initially from putting on the rear light was an suitable mounting spot….or lack of one if you would. While I was under Lady last week, I noticed a hole in the driver’s side upper control arm bracket that would, with the help of larger drill bit, would provide a nice out of the way mounting location for the light. The pic above shows the light in its new location.
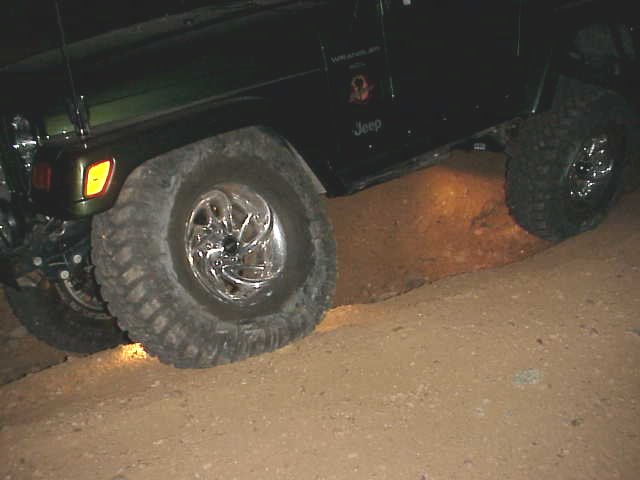
This was taken on the trail last night. Although the camera flash washes out the lights somewhat, you can see the ground lit up under the rear end.