
I had been exchanging some e-mail with another Jeeper, Ken Schmitz-Lammers, and he mentioned he had done some work on his hard top. We decided to put it here so others could benefit from Ken’s experience. He sent me some e-mail comments and pictures. So, hoping I don’t get things too badly out of order, here is what Ken did during his hard top project.
The first thing to do is round up the supplies needed for the project. This includes the following:
-indoor/outdoor carpet, about 5×6 ft. from Home Depot: about $23 (It’s the type often found in boats)
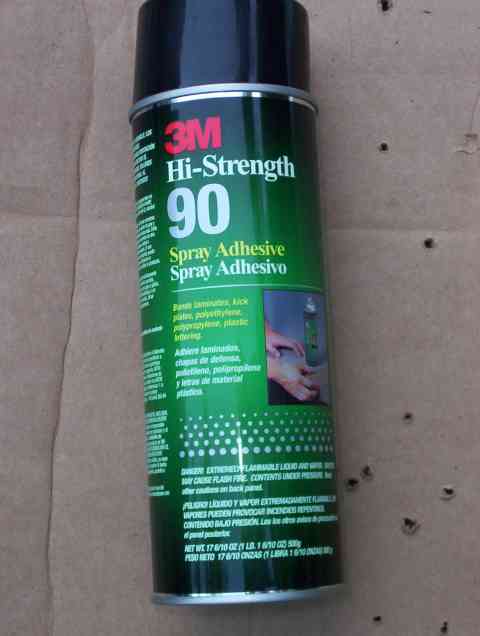
-3M high strength 90 glue (1 can will do it, but it’s cutting it close): $10
-2 cans of Krylon Fusion semi-gloss paint (or whatever you prefer, but the semigloss keeps the dirt off) : $5 each (the Fusion works well, b/c it has a plastic bonding agent…it also works well on the plastic exterior parts of your jeep…and you can also choose your color for the interior of the top)
-straight edge ruler for marking the carpet and a dry-marker to draw the cut lines
-box-cutter or a sharp scissors (Ken indicated he had the best luck with the scissors)
-clear plastic sheeting and masking tape for covering up windows for painting
Ken started by removing the hard top from his Jeep and placing it upside down on the lawn. He found that he could crawl around on the fiberglass portion of the top without causing any problems to the top. (Your mileage may vary if you eat to many pizzas or Whoppers for lunch!) To keep foot prints off of the top, Ken used a large piece of cardboard on the area he was positioned on while he worked on the other section.
Next came the windows. Using the plastic sheeting and masking tape, take your time and do a good job getting everything taped over. The last thing you want is spray paint on your windows. The rear window struts, mounting clamps, and dome light were removed.
The Krylon Fusion was applied in multiple thin coats, allowing about 20 minutes of drying time between each application. Better to spend extra time with multiple coats than get paint runs dribbling down your interior. Ken indicated that he did not paint the center section of the top as it would be covered with the carpet before everything was done. I think that was good thinking….hoping the adhesive would stick to new paint is something you really don’t need to investiage. Be sure to get the bottom (top as you look at the roof when it is upside down) of the mounting rail where the bolts hold the top to the tub.
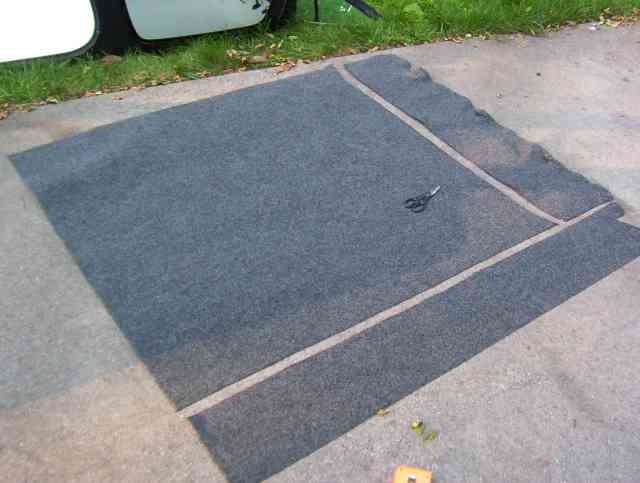
Ken also advises measuring twice and cutting just once. A most excellent approach to keeping your carpet expenditures to an absolute minimum. Mark your lines on the carpet and carefully trim away the excess. Ken said he also took the uncut carpet and laid it in the hard top to ensure he got the corners cut correctly. Although Ken did not do it, if you are so inclined, you could make a template if you were worried about a good fit. Decide on just where you want your carpeting to go and get those measurements so all is symmetrical and evenly laid out.
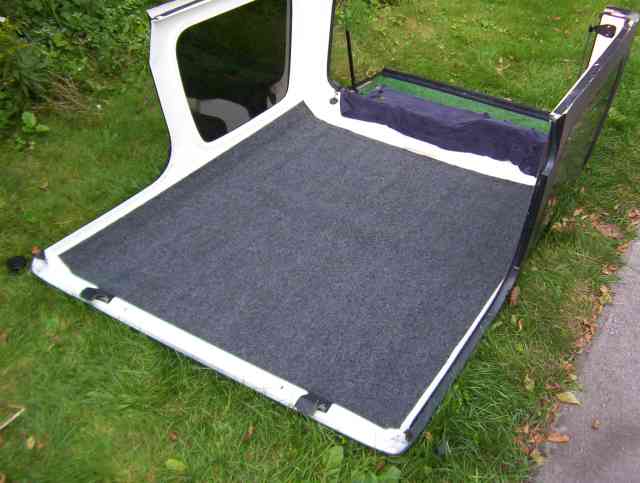
I’ll toss this picture in here now so you can see where Ken ran the edges of his carpet. You can see the hard top latch at the bottom of the picture.
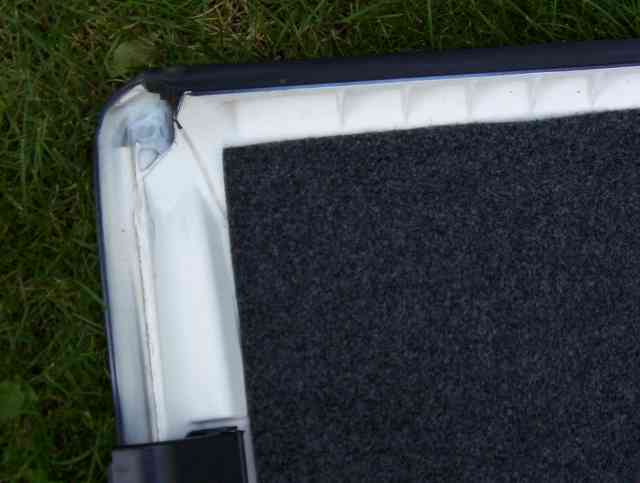
You will want to make sure you are satisfied with your cutting before you get to the adhesive step. Check the fit in the corners and along the edges.
OK….the paint is dry and you have your carpet cut to specs….time to break out the adhesive. This stuff is usually quite flammable and if so, it goes without saying that you need to use it in a well ventilated space. Don’t try this in the confines of your garage!
Carpeting & Interior Painting of the Hard Top
Flip your carpeting over (DOH! the sticky stuff goes on the back side!) and apply the adhesive. You may wish to do about 1/2 of the carpet for now as it may get a little sticky to handle if you do it all at once.
You can use the cardboard here too as you work your way across the top. Apply the adhesive (follow the directions on the can) and press it down firmly to ensure good contact between the carpet and hard top.
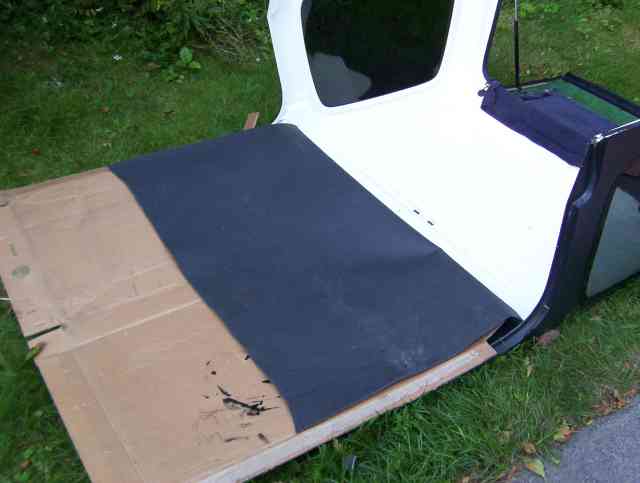
Ken has it all glued down and looking pretty good.
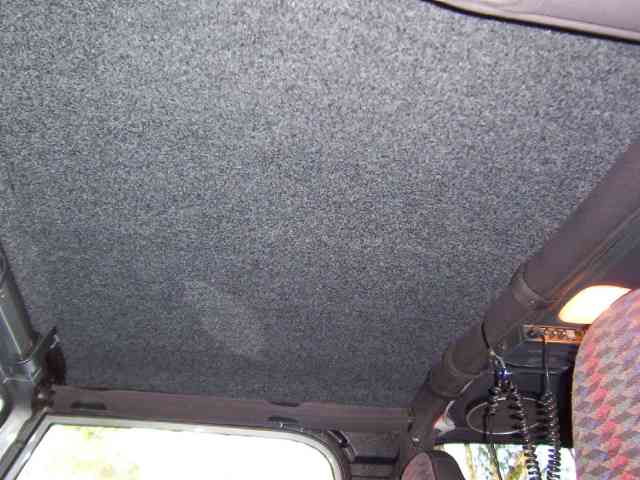
With the hard top mounted back on the Jeep, here is another picture of the finished product. The nice thing about putting carpeting on the underside of your roof is that when you roll the vehicle, you’ll have good carpet to crawl out on….and like most carpeting, you can clean it up afterwards. <grin>
I want to thank Ken for sharing his comments and pictures. Ken said that as he lives in Wisconsin, the carpeting does help reduce the lost heat to some degree (yes, that is a pun) and reduce the noise a bit at the same time. From what I was told, he only has two seasons up there, 4th of July and winter. Being from Minnesota, I can really appreciate that. They’ve got one more than Minnesota has.
I took the liberty to mix a few of my own comments in with Ken’s. I hope he doesn’t mind too much. From the looks of it, the project really did turn out quite nicely. If I get back into using my hard top again, I just might have to give this one a try. It should help with the summer time A/C we use out here in good ‘ol Arizona.